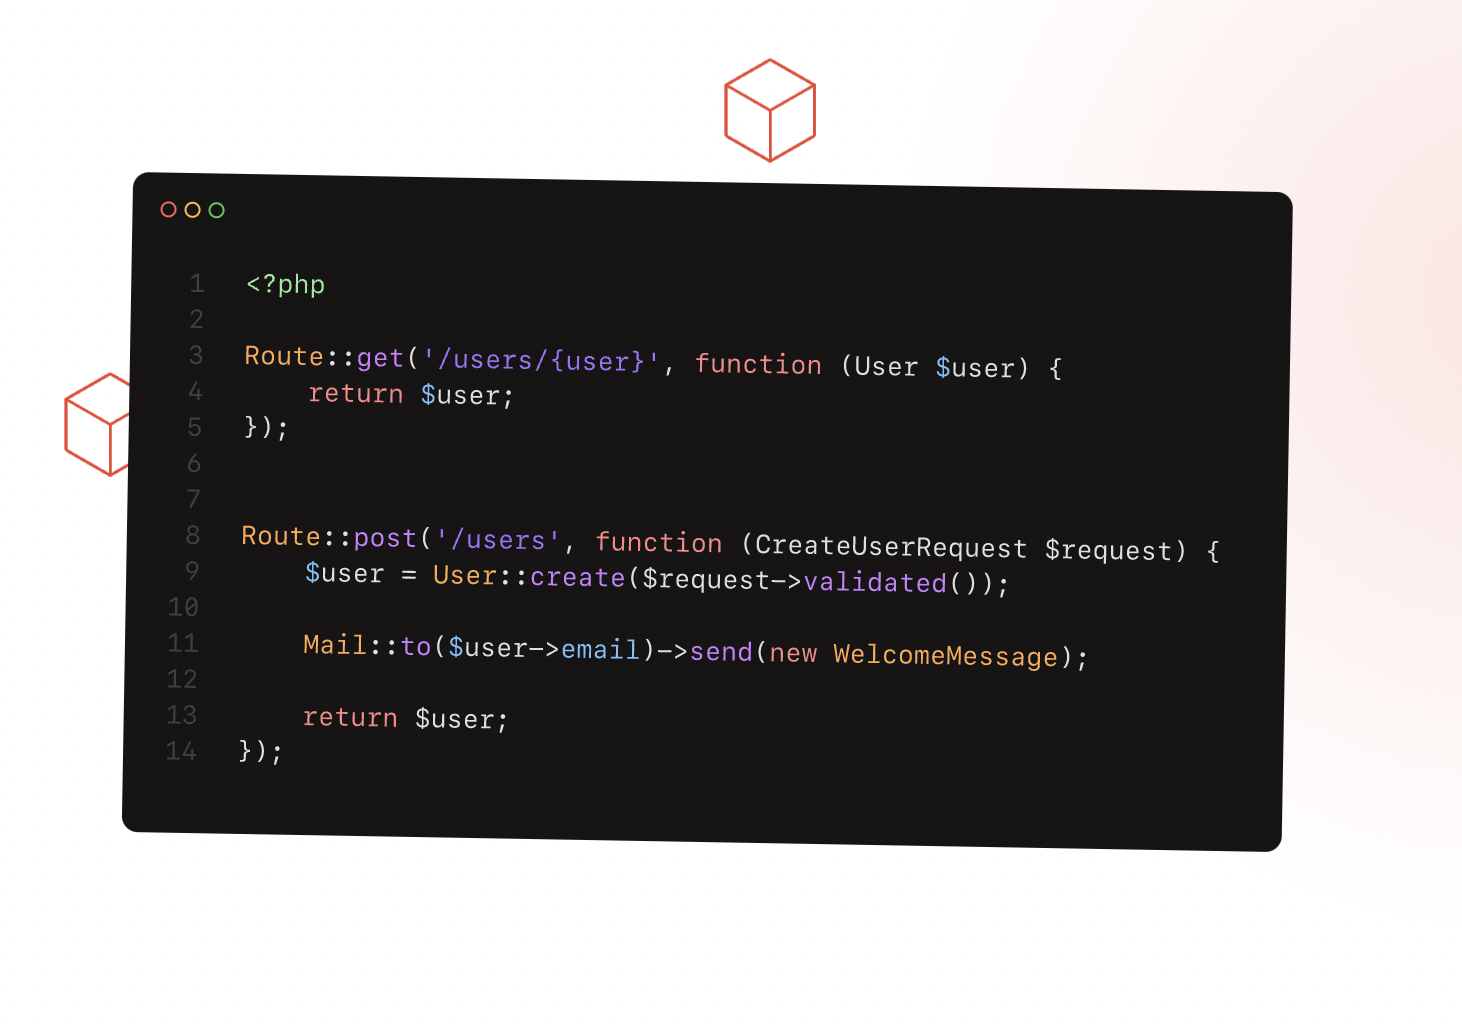
この記事のゴール
Laravel11でArtisan ConsoleからMailpit経由でメール送信していきます。
前提条件
- Ubuntu上で作業を行っています。
- PHP8.2以降インストール済
- Composerインストール
これからやること
- Laravel11プロジェクト作成
- Mailpitインストール&起動
- .env編集
- マイグレーション(シーダー実行)
- Artisan コマンド作成
- Mailable作成
- ビューファイル作成
- メール送信
- Mailpitでメール確認
Laravel11プロジェクト作成
Laravel11の新規プロジェクト「mailapp」を作成します。
作業フォルダ上で次のコマンドを実行します。
composer create-project laravel/laravel:^11 mailapp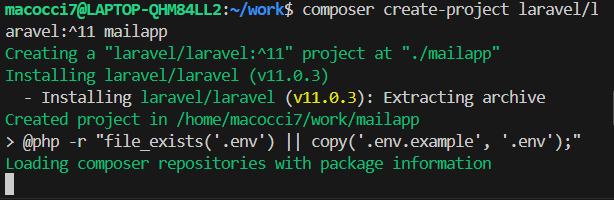
Mailpitインストール&起動
Mailpitは開発者向けのSMTPサーバです。
Mailpit経由でメール送信すると、外部へリレーせずにMailpitで補足・蓄積し、ブラウザ上でメール閲覧することができます。
Mailpitのインストール方法には幾つかの選択肢がありますが、
バイナリをダウンロードして実行するのが一番手っ取り早いと思います。
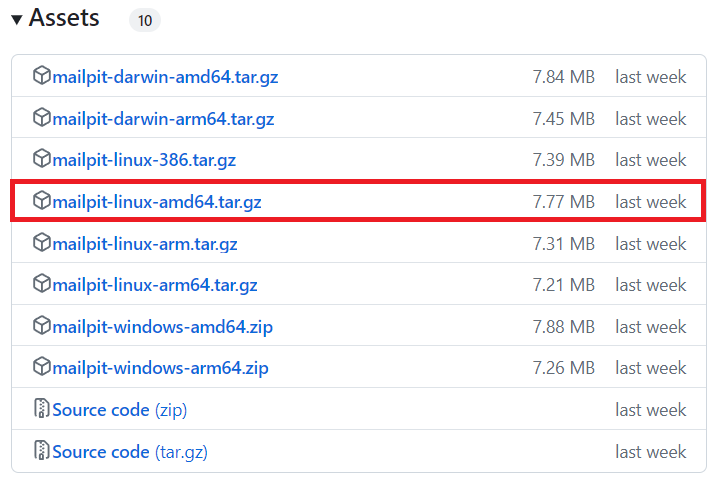
GitHubリポジトリの「Releases」ページから、
該当OS・該当アーキテクチャ用のバイナリをダウンロードします。
今回はLinux(Ubuntu)でamd64用なので、
この記事執筆時点で最新の v1.15.0から
「mailpit-linux-amd64.tar.gz」をダウンロードします。
ダウンロードしたファイルを、Ubuntu上の適当な場所に展開すれば良いのですが、
今回は上記で作成したLaravel11プロジェクトのvendor配下にでも入れることにしましょう。
mailpit用のフォルダを作成します。
mkdir mailapp/vendor/mailpit作成したフォルダ「mailapp/vendor/mailpit/」に先程ダウンロードしたファイルを保存します。
「mailapp/vendor/mailpit」に移動します。
cd mailapp/vendor/mailpit/ダウンロードしたファイルを展開します。
tar xfz mailpit-linux-amd64.tar.gz
「LICENSE」「README.md」「mailpit」の3ファイルが展開されます。
mailpitを起動します。
./mailpit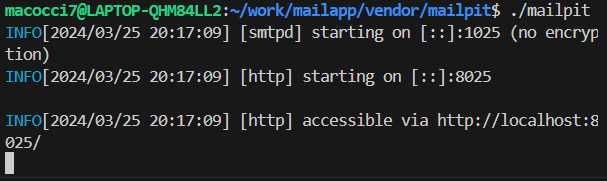
このターミナルはメール送信まで放置しておきます。
終了する時にはこのターミナル上で[Ctrl]+[C]を押します。
.env編集
Laravel11のメール送信をMailpitを経由する設定にします。
プロジェクトトップの「.env」ファイルを編集・保存します。
次の3項目を変更します。
MAIL_MAILER=smtp
MAIL_HOST=127.0.0.1
MAIL_PORT=1025

マイグレーション(シーダー実行)
ユーザーデータを作成するために、シーダー実行オプション付きでマイグレーションを実行します。
php artisan migrate --seed
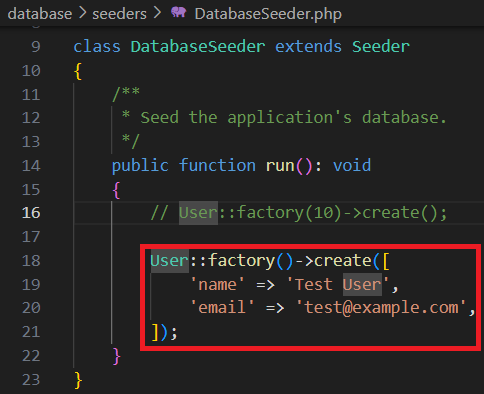
※Laravel11では、「database/seeders/DatabaseSeeder.php」にデフォルトで1件だけテストユーザーを作成するコードが書かれています。
データベースを確認してみます。
sqlite3 database/database.sqlite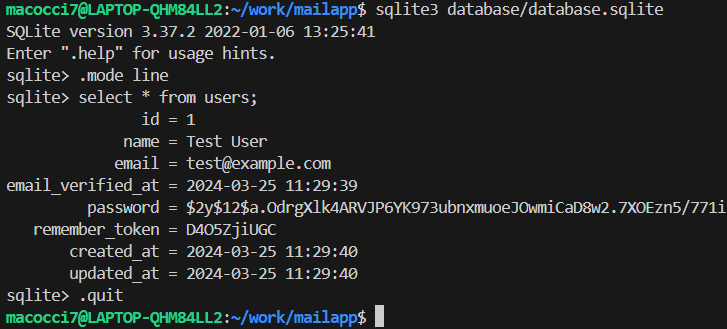
確かに1件だけテストユーザーが登録されています。
※SQLiteクライアントCLIはsqlite3を使っています。

※筆者はaptコマンドでインストールして使っています。
sudo apt install sqlite3Artisanコマンド作成
Artisanコマンド「mail:send」なるものを作成します。
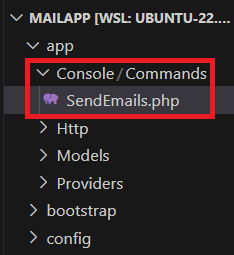
php artisan make:command SendEmails
デフォルトでは存在していなかった「app/Console」フォルダが作成され、
「app/Console/Commands/SendEmails.php」が作成されました。
開いて編集します。
<?php

namespace App\Console\Commands;

use Illuminate\Console\Command;
use Illuminate\Contracts\Console\PromptsForMissingInput;
use Illuminate\Support\Facades\Mail;
use App\Models\User;
use App\Mail\NotificationMail;

class SendEmails extends Command implements PromptsForMissingInput
{
    /**
     * The name and signature of the console command.
     *
     * @var string
     */
    protected $signature = 'mail:send {user-id}';

    /**
     * The console command description.
     *
     * @var string
     */
    protected $description = 'Sends an Email to a user.';

    /**
     * Execute the console command.
     */
    public function handle()
    {
        $user = User::find($this->argument('user-id'));
        Mail::to($user)
              ->send(new NotificationMail($user));
        echo sprintf("A mail sent to <%s>\n", $user->email);
    }

    /**
     * Prompt for missing input arguments using the returned questions.
     *
     * @return array<string, string[]>
     */
    protected function promptForMissingArgumentsUsing(): array
    {
        return [
            'user-id' => ['Which user ID should receive the mail?', 'E.g. 1'],
        ];
    }
}
Mailable作成
Laravel11でメール送信するには、Mailの構成を定義するMailableクラスを作成します。
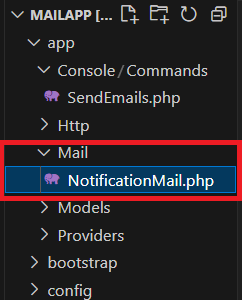
php artisan make:mail NotificationMail
デフォルトでは存在しなかった「app/Mail」フォルダが作成され、
「app/Mail/NotificationMail.php」が作成されました。
開いて編集・保存します。
<?php

namespace App\Mail;

use Illuminate\Bus\Queueable;
use Illuminate\Contracts\Queue\ShouldQueue;
use Illuminate\Mail\Mailable;
use Illuminate\Mail\Mailables\Content;
use Illuminate\Mail\Mailables\Envelope;
use Illuminate\Queue\SerializesModels;
use Illuminate\Mail\Mailables\Address;
use App\Models\User;

class NotificationMail extends Mailable
{
    use Queueable, SerializesModels;

    /**
     * Create a new message instance.
     *
     * @param   User    $user
     */
    public function __construct(
        protected User $user,
    ) {
    }

    /**
     * Get the message envelope.
     */
    public function envelope(): Envelope
    {
        return new Envelope(
            from: new Address('info@example.com', 'INFO'),
            replyTo: [
                new Address('hoge@example.com', 'HOGE'),
            ],
            subject: '[Notification] for ' . $this->user->name,
        );
    }

    /**
     * Get the message content definition.
     */
    public function content(): Content
    {
        return new Content(
            text: 'mail.notification-text',
            with: [
                'user' => $this->user,
            ],
        );
    }

    /**
     * Get the attachments for the message.
     *
     * @return array<int, \Illuminate\Mail\Mailables\Attachment>
     */
    public function attachments(): array
    {
        return [];
    }
}
ビューファイル作成
今どきHTMLメールが当たり前なのでしょうが、
筆者はHTMLメールが嫌いでテキスト好みなので
本文はテキストとして設定しています。
「text:」の箇所を「view:」か「html:」にすることで
HTMLメールにすることができます。
「markdown:」にすることでMarkdown形式で本文を記述することもできますが、
本文を「<x-mail::message>~</x-mail::message>」で括る必要があります。
メール本文はBladeテンプレートとして作成します。
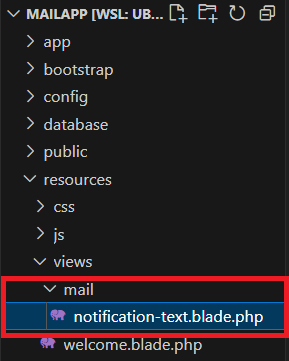
php artisan make:view mail/notification-text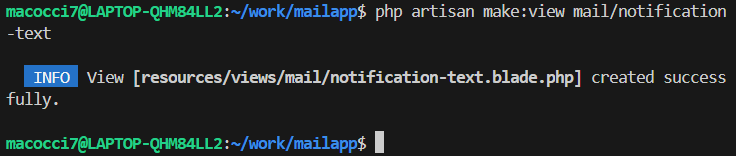
「resources/views/mail/notification-text.blade.php」が作成されました。
開いて編集・保存します。
{{ $user->name }}さん、こんにちは!

mailappをご愛顧いただきありがとうございます。

今後ともよろしくお願い申し上げます。

---
mailapp 運営事務局 担当 ほげ
Email: <hoge@example.com>
URL: {{ env('APP_URL') }}
メール送信
メールを送信してみましょう。
php artisan mail:send 1
Mailpitでメール確認
WEBブラウザで次のURLにアクセスします。
http://localhost:8025/先程送信したメールがリストされています。

リストの該当メールをクリックすると詳細が表示されます。

ユーザー名とサイトのURLがしっかり挿し込みされていますね。
おまけ
ちなみに、今回のArtisanコマンドには、
コマンド引数 {user-id} が省略された場合に、
対話形式で引数を入力する処理を記述しています。
試しに引数なしで実行してみます。
php artisan mail:send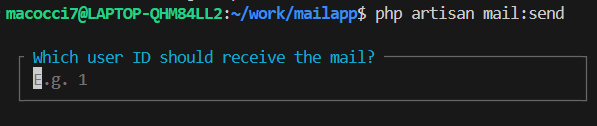
「Which user ID should receive the mail?」と訊かれ、
入力待ちの状態となって、プレイスホルダー「E.g. 1」が表示されています。
ここで、「1」と入力し、[Enter]で確定します。

メールが送信されたようです。
Mailpitの画面で確認してみましょう。

確かにメール送信されていますね。
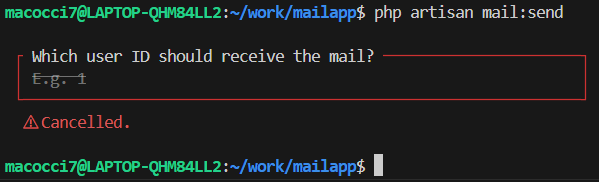
先程の入力待ち状態で[Ctrl]+[C]を押すと、
このような表示になり、コマンド実行が中止されます。
今回は以上です。

コメント