GitHubでOAuthアプリの登録をし、CLIENT_IDとCLIENT_SECRETを取得する手順の備忘録です。
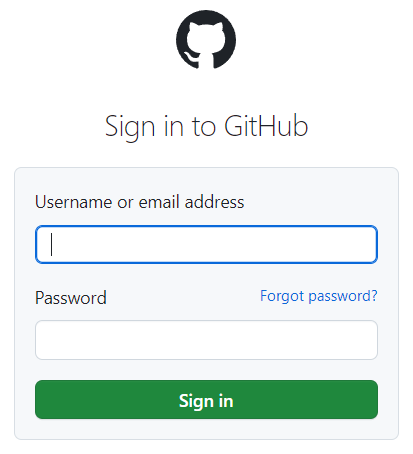
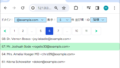
GitHubへアクセスします。
![](https://macocci7.net/blog/wp-content/uploads/cocoon-resources/blog-card-cache/19b6b44a0948419f09ff89283d54e0bd.png)
GitHub: Let’s build from here
GitHub is where over 100 million developers shape the future of software, together. Contribute to the open source commun...
サインインします。
![](https://macocci7.net/blog/wp-content/uploads/2024/02/github_register_oauth_app_01.png)
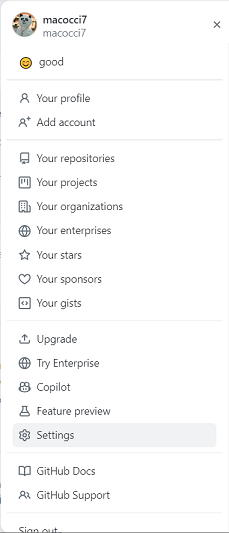
メニューから「Settings」を選択します。
![](https://macocci7.net/blog/wp-content/uploads/2024/02/github_register_oauth_app_02.png)
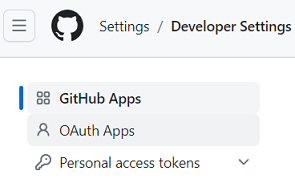
サイドメニューから「Developer settings」を選択します。
![](https://macocci7.net/blog/wp-content/uploads/2024/02/github_register_oauth_app_03.png)
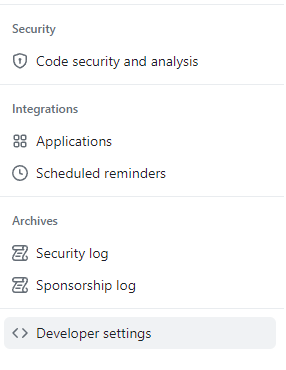
サイドメニューから「OAuth Apps」を選択します。
![](https://macocci7.net/blog/wp-content/uploads/2024/02/github_register_oauth_app_04.png)
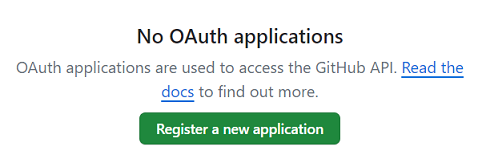
「Register a new application」ボタンをクリックします。
![](https://macocci7.net/blog/wp-content/uploads/2024/02/github_register_oauth_app_05.png)
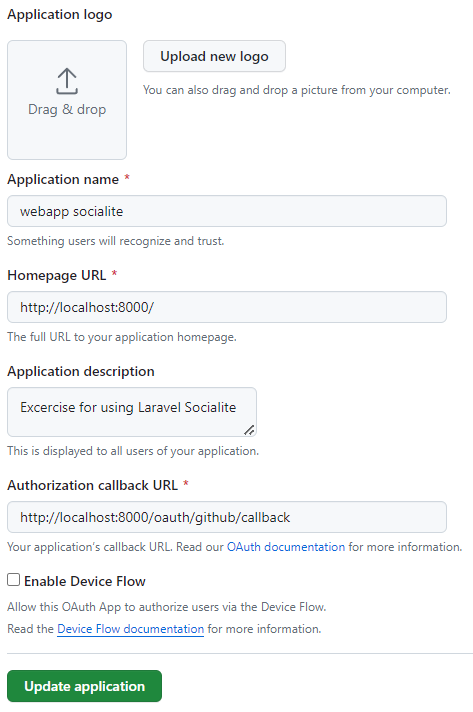
必要事項を入力して「Register application」ボタンをクリックします。
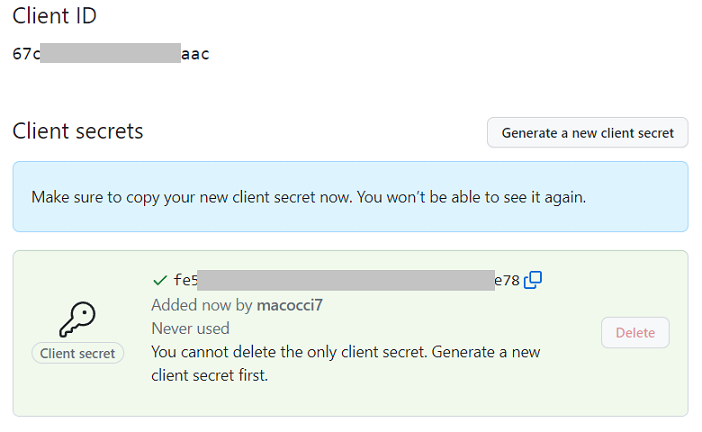
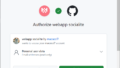
![](http://macocci7.net/blog/wp-content/uploads/2024/02/github_register_oauth_app_06.png)
Client IDが発行されます。
![](https://macocci7.net/blog/wp-content/uploads/2024/02/github_register_oauth_app_07.png)
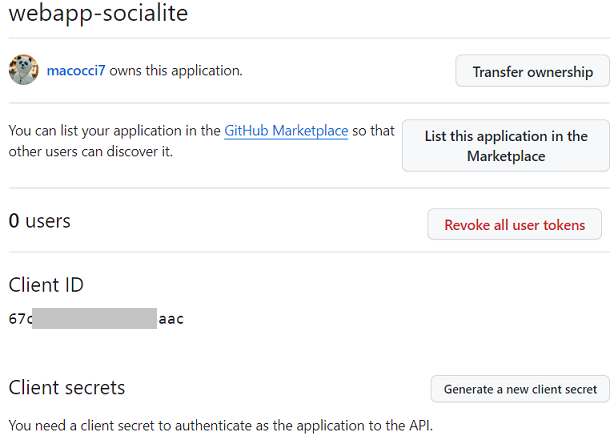
Client secret は発行されていないので、
「Generate a new client secret」ボタンをクリックします。
![](http://macocci7.net/blog/wp-content/uploads/2024/02/github_register_oauth_app_08.png)
Client secretが発行されるので、コピーしておきます。
![](https://macocci7.net/blog/wp-content/uploads/2024/02/github_register_oauth_app_09.png)
後から表示しようとしても、このようにマスキングされた状態で
元の Client secret が判らなくなってしまうので、
そうなったら「Generate a new client secret」ボタンをクリックして、新しい Client secret を発行し、古いものは「Delete」ボタンで削除します。
![](https://macocci7.net/blog/wp-content/uploads/2024/02/github_register_oauth_app_10.png)
最初に登録した内容は後からいつでも変更することができます。
![](http://macocci7.net/blog/wp-content/uploads/2024/02/github_register_oauth_app_11.png)
以上です。
コメント