今更ですが、業務で使うことになったので、Ubuntu24.04.2 LTS (WSL2 on Windows11) にGemini CLIをインストールしてみました。
システム要件
- Node.js v20以降インストール済
- macOS or Linux or Windows

前提条件
- Ubuntu 24.04.2 LTS (WSL2 on Windows11) を使っています
- Node.js v24.8.0 を使っています
- Googleアカウント取得済
- GoogleアカウントでのOAuthを使っていきます
npmでのインストール
npmでグローバルインストールします。
npm install -g @google/gemini-cli
Gemini CLI起動
ターミナル上でコマンドを実行します。
gemini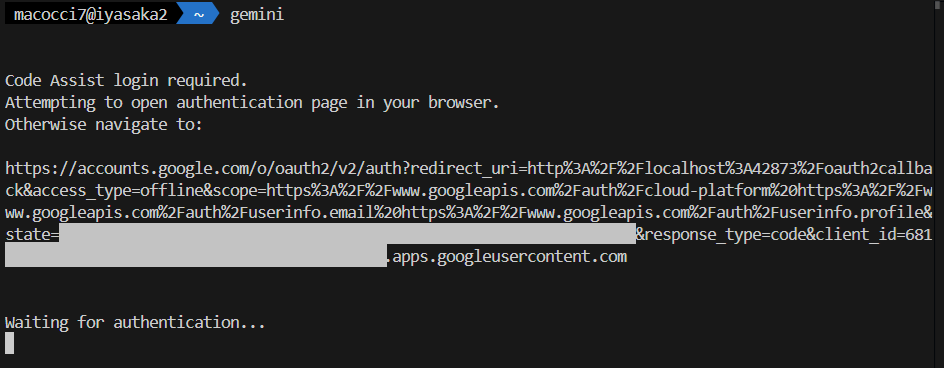
WEBブラウザでOAuthの画面が自動で開きます。
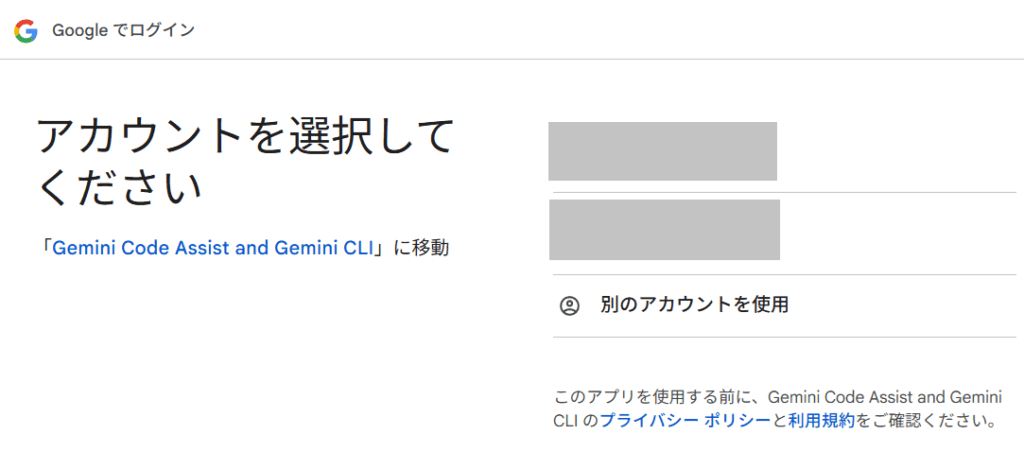
アカウントを選択するとGoogleからダウンロードしたことを確認する画面が出ます。
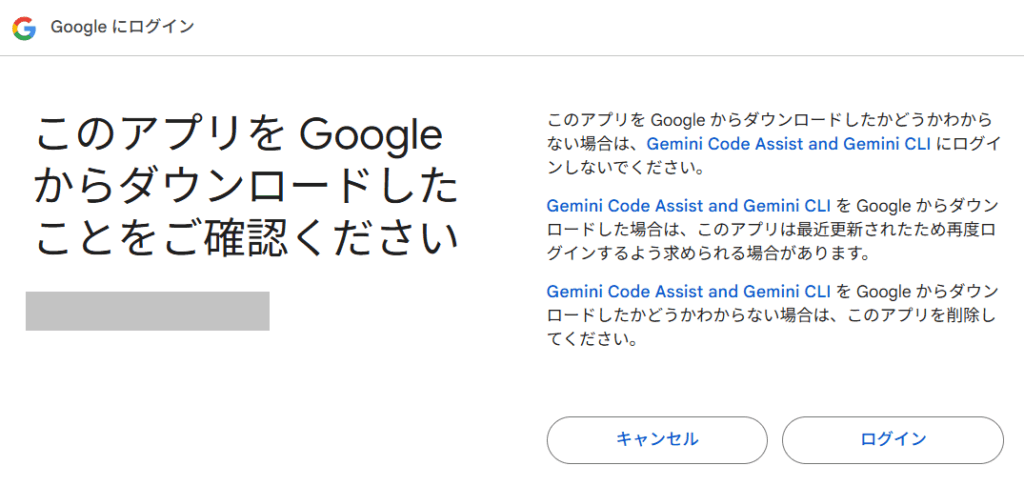
「ログイン」ボタン押下後、認証完了ページが表示されます。

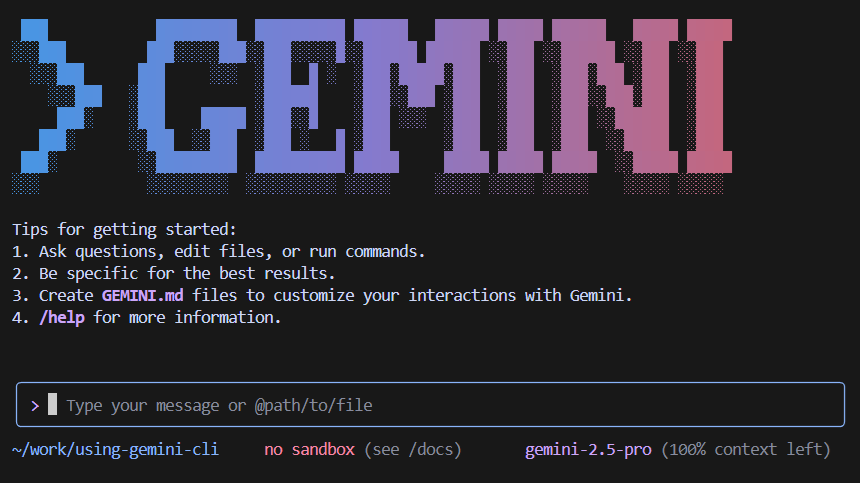
ターミナル側でGeminiのバナーが表示されました。
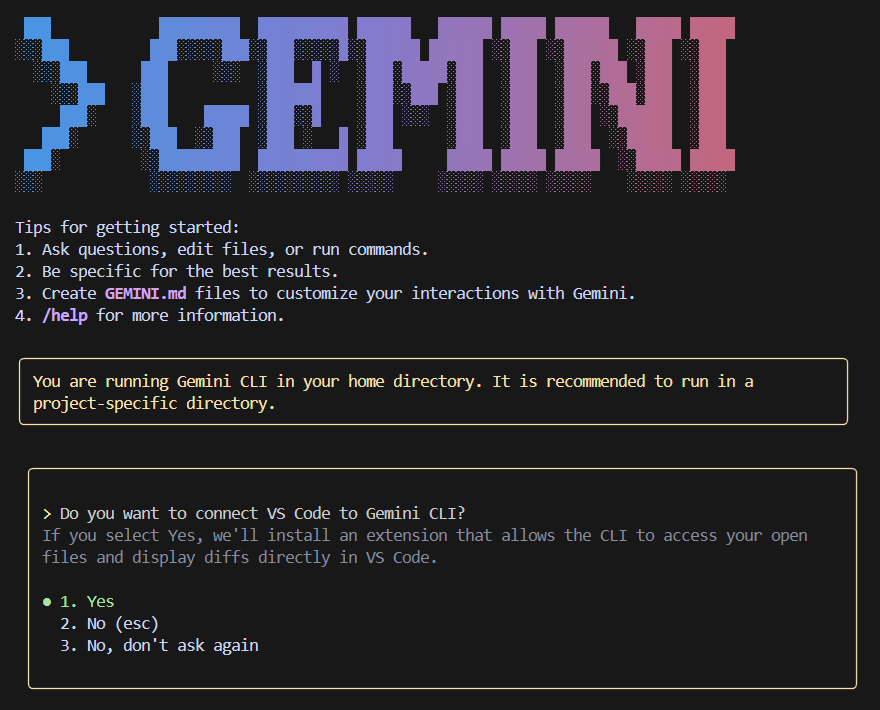
メッセージが表示されています。
「あなたはGemini CLIをホームディレクトリで実行しています。特定のプロジェクトフォルダ内で実行することが推奨されています。」
なるほど、適当にプロジェクトフォルダを作って実行し直すことにします。
あと、VS CodeをGemini CLIに接続させるか訊かれています。今回はひとまず「2. No (esc)」で一時回避することにします。
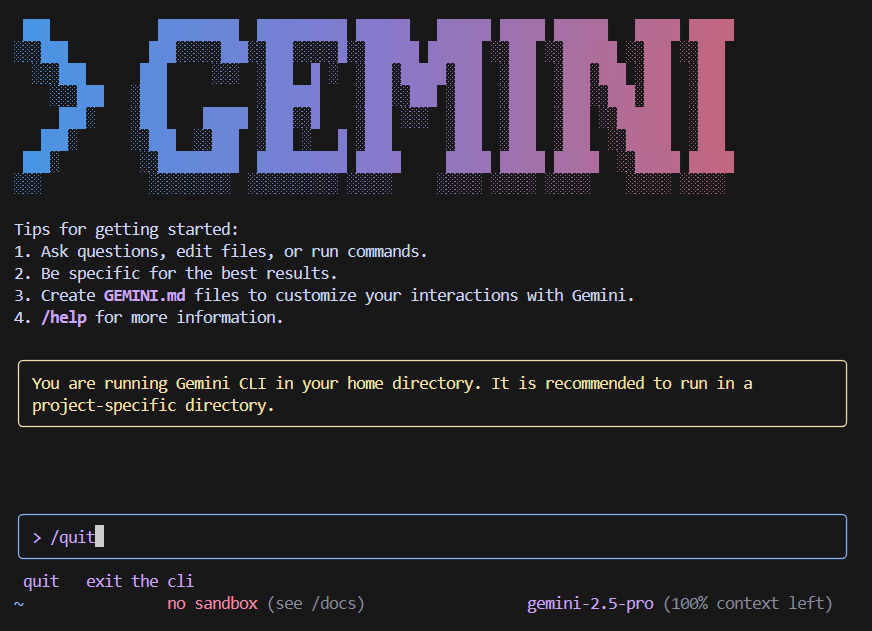
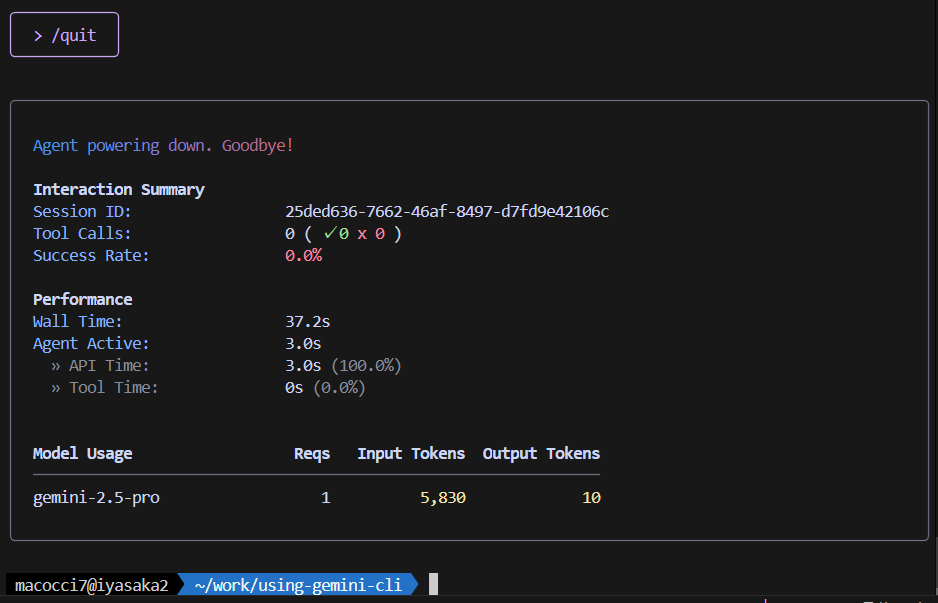
プロンプトが表示されるので、「/quit」で一旦終了します。
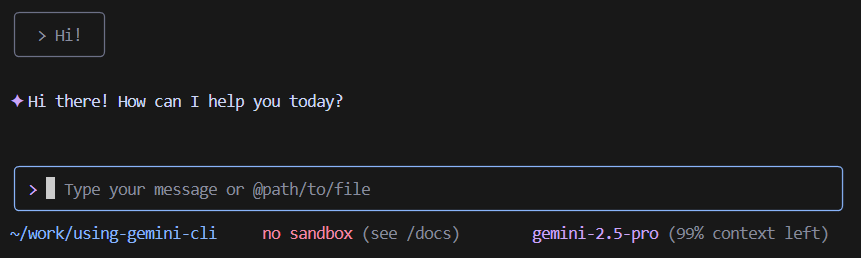
適当なプロジェクトフォルダを作成&移動してから起動し直しました。

「/help」でヘルプを表示してみます。
╭─────────────────────────────────────────────╮
│                                                                                           │
│ Basics:                                                                                   │
│ Add context: Use @ to specify files for context (e.g., @src/myFile.ts) to target specific │
│  files or folders.                                                                        │
│ Shell mode: Execute shell commands via ! (e.g., !npm run start) or use natural language   │
│ (e.g. start server).                                                                      │
│                                                                                           │
│ Commands:                                                                                 │
│  /about - show version info                                                               │
│  /auth - change the auth method                                                           │
│  /bug - submit a bug report                                                               │
│  /chat - Manage conversation history.                                                     │
│    list - List saved conversation checkpoints                                             │
│    save - Save the current conversation as a checkpoint. Usage: /chat save <tag>          │
│    resume - Resume a conversation from a checkpoint. Usage: /chat resume <tag>            │
│    delete - Delete a conversation checkpoint. Usage: /chat delete <tag>                   │
│    share - Share the current conversation to a markdown or json file. Usage: /chat share  │
│ <file>                                                                                    │
│  /clear - clear the screen and conversation history                                       │
│  /compress - Compresses the context by replacing it with a summary.                       │
│  /copy - Copy the last result or code snippet to clipboard                                │
│  /docs - open full Gemini CLI documentation in your browser                               │
│  /directory - Manage workspace directories                                                │
│    add - Add directories to the workspace. Use comma to separate multiple paths           │
│    show - Show all directories in the workspace                                           │
│  /editor - set external editor preference                                                 │
│  /extensions - Manage extensions                                                          │
│    list - List active extensions                                                          │
│    update - Update extensions. Usage: update <extension-names>|--all                      │
│  /help - for help on gemini-cli                                                           │
│  /ide - manage IDE integration                                                            │
│    enable - enable IDE integration                                                        │
│    status - check status of IDE integration                                               │
│    install - install required IDE companion for VS Code                                   │
│  /init - Analyzes the project and creates a tailored GEMINI.md file.                      │
│  /mcp - list configured MCP servers and tools, or authenticate with OAuth-enabled servers │
│    list - List configured MCP servers and tools                                           │
│    auth - Authenticate with an OAuth-enabled MCP server                                   │
│    refresh - Restarts MCP servers.                                                        │
│  /memory - Commands for interacting with memory.                                          │
│    show - Show the current memory contents.                                               │
│    add - Add content to the memory.                                                       │
│    refresh - Refresh the memory from the source.                                          │
│  /privacy - display the privacy notice                                                    │
│  /quit - exit the cli                                                                     │
│  /stats - check session stats. Usage: /stats [model|tools]                                │
│    model - Show model-specific usage statistics.                                          │
│    tools - Show tool-specific usage statistics.                                           │
│  /theme - change the theme                                                                │
│  /tools - list available Gemini CLI tools. Usage: /tools [desc]                           │
│  /settings - View and edit Gemini CLI settings                                            │
│  /vim - toggle vim mode on/off                                                            │
│  /setup-github - Set up GitHub Actions                                                    │
│  /terminal-setup - Configure terminal keybindings for multiline input (VS Code, Cursor,   │
│ Windsurf)                                                                                 │
│  ! - shell command                                                                        │
│ [MCP] - Model Context Protocol command (from external servers)                            │
│                                                                                           │
│ Keyboard Shortcuts:                                                                       │
│ Alt+Left/Right - Jump through words in the input                                          │
│ Ctrl+C - Quit application                                                                 │
│ Ctrl+J - New line (Alt+Enter works for certain linux distros)                             │
│ Ctrl+L - Clear the screen                                                                 │
│ Ctrl+X - Open input in external editor                                                    │
│ Ctrl+Y - Toggle YOLO mode                                                                 │
│ Enter - Send message                                                                      │
│ Esc - Cancel operation / Clear input (double press)                                       │
│ Shift+Tab - Toggle auto-accepting edits                                                   │
│ Up/Down - Cycle through your prompt history                                               │
│                                                                                           │
│ For a full list of shortcuts, see docs/keyboard-shortcuts.md                              │
│                                                                                           │
╰─────────────────────────────────────────────╯
会話も出来るので、疎通確認はOKです。
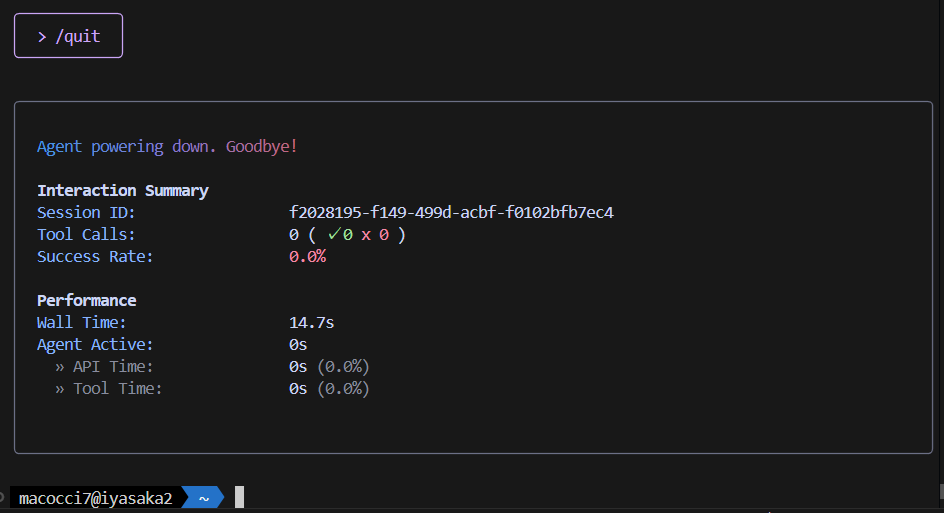
今回はリクエストを投げたので、終了時にリクエスト数、トークン数が表示されました。
2回目以降の起動時には、ローカルにキャッシュされた認証情報が使用されるので、OAuthの画面は表示されません。
なお、Gemini CLI関連のファイルは「~/.gemini/」に配置されています。

試しに「oauth_creds.json」を削除してからGemini CLIを起動したらOAuthの画面が表示されました。

別のGoogleアカウントに切り替える場合は、「google_accounts.json」も削除する必要があります。
忠犬Geminiに訊いたところ、現時点でGemini CLIは複数のGoogleアカウントの管理をサポートしていないようです。
筆者のように、個人のGoogleアカウントと、業務用のGoogleカウントの両方を切り替えて使いたい場合は少し面倒ですね。
- 0
- 0
- 0
- 0


コメント